

[ad_1]
Amassing the 18 Bounty Pucks is likely one of the numerous aspect quests you are able to do in Star Wars: Jedi Survivor to get out and discover extra places across the galaxy. A shady particular person named Caij Vanda presents the search throughout a cutscene tied to the primary story.
The Syndicate remains to be looking Cal, sending numerous bounty hunters after him as retribution for his actions within the first recreation. Every of those bounty hunters carries a Bounty Puck which might then be exchanged with Caij for blaster perks and elegance cosmetics at Greez’s Cantina.
You’ll obtain a reward and an achievement for gathering the entire Bounty Pucks, and this information covers the place to search out all 18 places in Star Wars: Jedi Survivor plus some recommendation on how one can make this problem a bit of simpler.
All 18 Bounty Puck places in Star Wars Jedi: Survivor
Listed here are all 18 bounty hunters with Pucks and their places all through the sport. Many of those bounty hunters seem after clearing the primary story goal within the space. You may then return later to search out the bounty hunters. A few of the adversaries decrease down on the listing solely spawn after you converse to Caij or eradicate the simpler targets first. Don’t neglect to loot the our bodies to get the Bounty Pucks.
Defeat Korej Lim
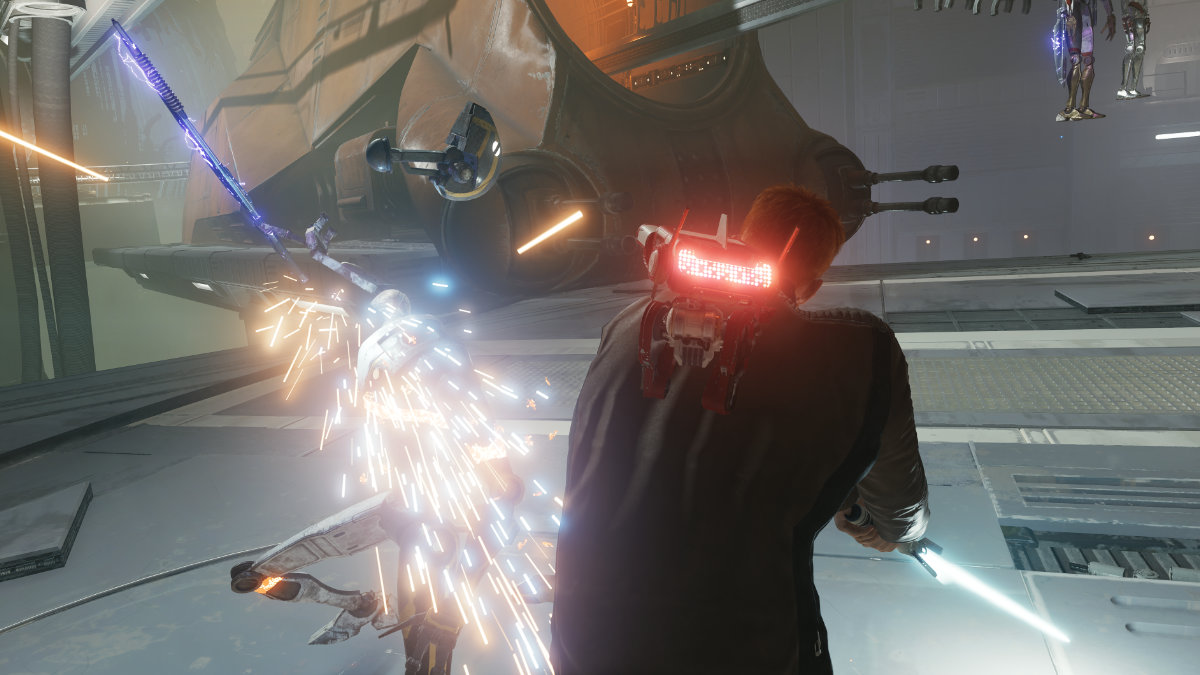
That is the primary bounty hunter you’ll come throughout in Jedi: Survivor after you fly into the Devastated Settlement for the primary time on Koboh. That is the realm characterised by the large lava pit. Cal struggles with Korej Lim which then triggers a combat. Korej Lim is very cellular and prefers to stay airborne by way of jetpack. Defeating him results in a cutscene through which Caij introduces the Bounty Puck system and rewards.
Defeat Meyen Corr
It’s straightforward to stumble throughout Meyen Corr proper after Korej Lim, as he spawns simply over on the Boiling Bluff adjoining to the Devastated Settlement space on Koboh. You’ll discover him particularly on the walled path connecting Rambler’s Attain to the Boiling Bluff. He’s comparatively straightforward to take out, simply be cautious of his stun grenades.
Defeat Kip Ostar
You’ll discover Kip Ostar on Koboh again on the Derelict Dam on Koboh. That is close to the open space simply earlier than you get to the large creature. Recall the door within the cave close by behind which a Bedlam Raider taunts you. Kip Ostar lurks within the tunnel resulting in that door. There’s additionally a Curler mine droid that spawns at one of many tunnel openings. Kip Ostar is down the tunnel from the Curler droid lurking behind cowl. He’ll assault with a protect rush, however isn’t too tough to defeat. You may as well throw Curler droids at him to simply trigger harm.
Defeat Raz
Discover Raz on the Koboh Forest Array advanced on Koboh the place you first uncover Dagan. Raz spawns close to the place the Mogu beast prowls. That is on the left aspect of the advanced beneath the place the large chicken was restrained. Contemplating there are different brawler droids like Raz that combat with companions, you shouldn’t have a lot bother with this single bounty hunter. Nonetheless, you possibly can pressure it to comply with you after which combat the Mogu in case you’d want to weaken it first. Allow them to combat, as they are saying.
Defeat Gatt Medo
This bounty hunter waits on Coruscant within the under-levels on the manufacturing unit Freight Dealing with Depot. There’s a big room the place conveyors switch cargo by means of the realm, simply earlier than the room the place the Purge Trooper drops in for the primary time throughout the primary story. Gatt Medo is comparatively straightforward to take out like the opposite first few bounty hunters.
Defeat Vaslyn Martz
There’s a bit previous the Mountain Ascent on Koboh that’s full of fog the place the Mogu ambushes you in the primary story. The precise part is named the Fogged Expanse. It’s simply earlier than the half the place you discover the crashed Imperial shuttle and hidden Imperial outpost.
Vaslyn Martz spawns within the fog, and it’s an ideal spot for a bounty hunter to lurk. He additionally has two accomplices with him that can rush you would like shields. You may attempt to give attention to Vaslyn who solely has blasters, however you would possibly get knocked down by his allies in case you’re not vigilant.
Selfin Jook
You’ll discover Selfin Jook on the decrease ranges of the Observatory Understructure on Koboh close to the primary level after the platforming part by means of the open sky. Selfin Jook is straightforward to take out alongside along with his accomplices and received’t give a lot bother besides on larger difficulties. One tip is to be affected person and block and dodge the blaster fireplace and transfer in nearer to take them out one-by-one.
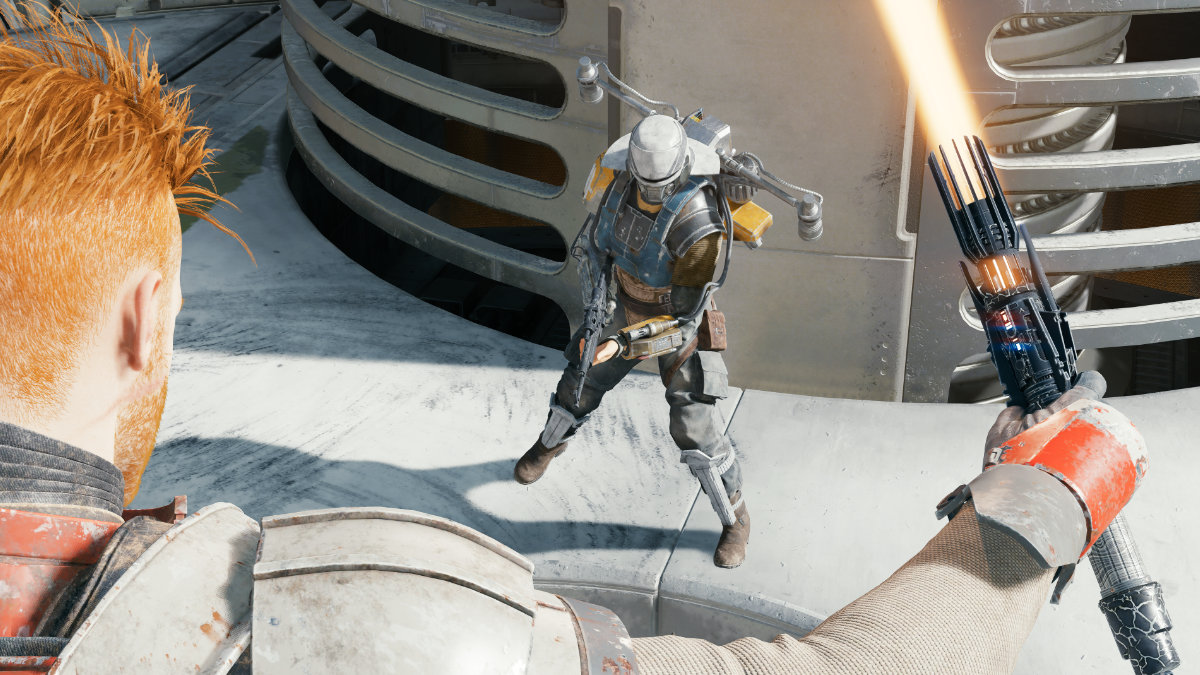
Picture by PC Invasion
Defeat Mash
Defeating Mash is a tough process on larger difficulties, however you’ll have extra fight choices by the point you attain this encounter. Mash is definitely the massive brawler droid, accompanied by a nimble bounty hunter companion. Return to the Shattered Moon base and take the raise down from the touchdown pad then zipline throughout the chasm.
You must undoubtedly relaxation on the close by Meditation Circle so you possibly can respawn if, or extra possible, while you die. Head down the hallway with steam billowing out and Mash and his companion will ambush you on the identical spot the place the primary Bedlam Raider did throughout the primary story mission. It’s finest to wreck Mash at vary if potential, or strike laborious and instantly dodge the counterstrikes.
Defeat Yuhong
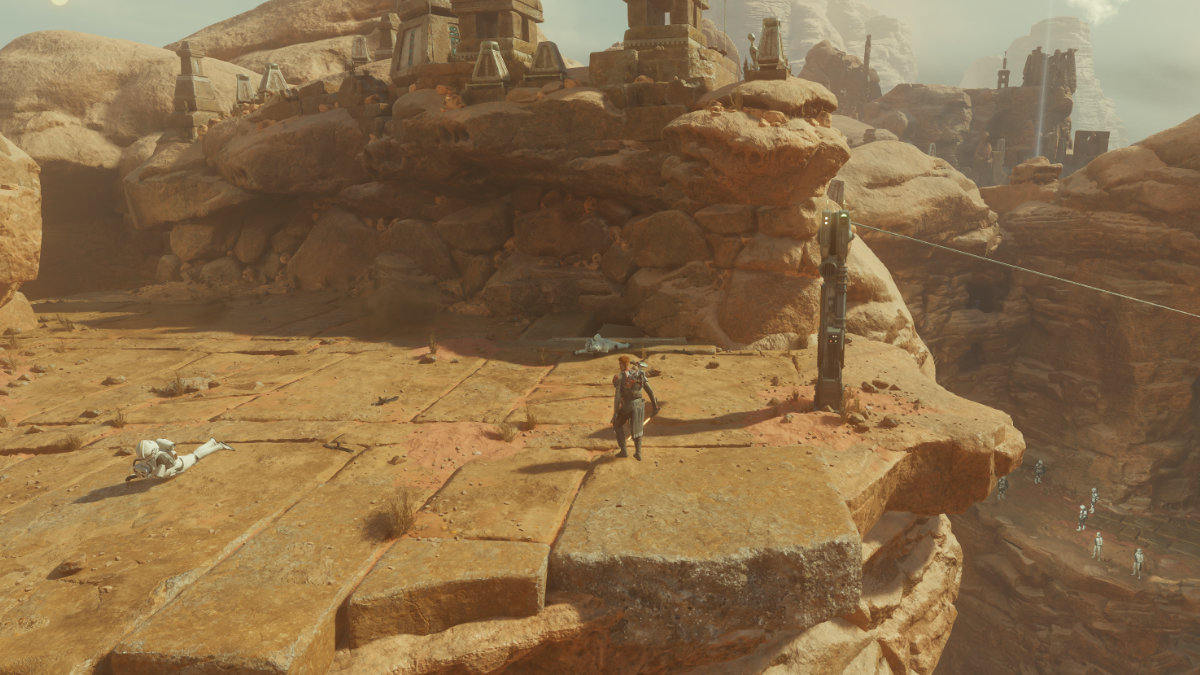
Discover Yuhon on Jedha close to the Path of Restoration. This is likely one of the wall puzzles associated to the central tomb within the valley. Go away the primary base by way of the doorway that opens up on to the primary valley, and comply with the ridge round to the left. The trail of Resistance is up on the cliff and Yuhong is on the bottom degree.
Yuhong is one other brawler droid and has two bounty hunters as back-up. There’s loads of open terrain so you possibly can take them out in any order you would like, nevertheless it’s finest to give attention to Yuhong final. Use heavy strikes and get away from Yuhong earlier than it counterattacks, similar to you probably did with Mash.
Defeat Corde the Half and PR-85T the Different Half
This pair of bounty hunters is situated on Jedha on the Halls of Ranvell. That is close to the top of the advanced you first discover with Merrin earlier than using out into the sandstorm. Proper after clearing the lengthy scaffolding part, there’s a touchdown Cal should climb as much as simply earlier than dropping down into the Skriton lair. The bounty hunters are on this touchdown.
It’s finest to start out this combat with the Gradual tremendous pressure skill and give attention to taking out Corde as shortly as potential. The brawler droids are powerful sufficient on their very own, so that you don’t need another person gorgeous or taking pictures you within the again whereas dealing with one. You’ll obtain two Bounty Pucks from this combat.
Picture by PC Invasion
Defeat KLE-0, Masi Finau, and Fenn Finau
This trio seems on the Imperial ISB base on Nova Garon within the Hanger Bay part. They wait on the finish of the lengthy, windowed hallway that hyperlinks the Hanger Bay to the primary advanced. You will get to it pretty fast in case you beforehand unlocked the shortcuts going to the Mantis. For extra context, you’re on the lookout for the hallway the place you spy your goal’s condominium/barracks throughout the expanse. There are additionally a few ISB brokers conversing by a management panel.
This can be a tough combat on more durable difficulties, however the perfect technique is to take out the siblings earlier than specializing in the brawler droid. Use KLE-0’s sluggish motion to unfold out the bounty hunters so you possibly can assault them individually with out interruption. You’ll obtain three Bounty Pucks for beating the trio.
Picture by way of Respawn Leisure
Beat Caij at Holotactics
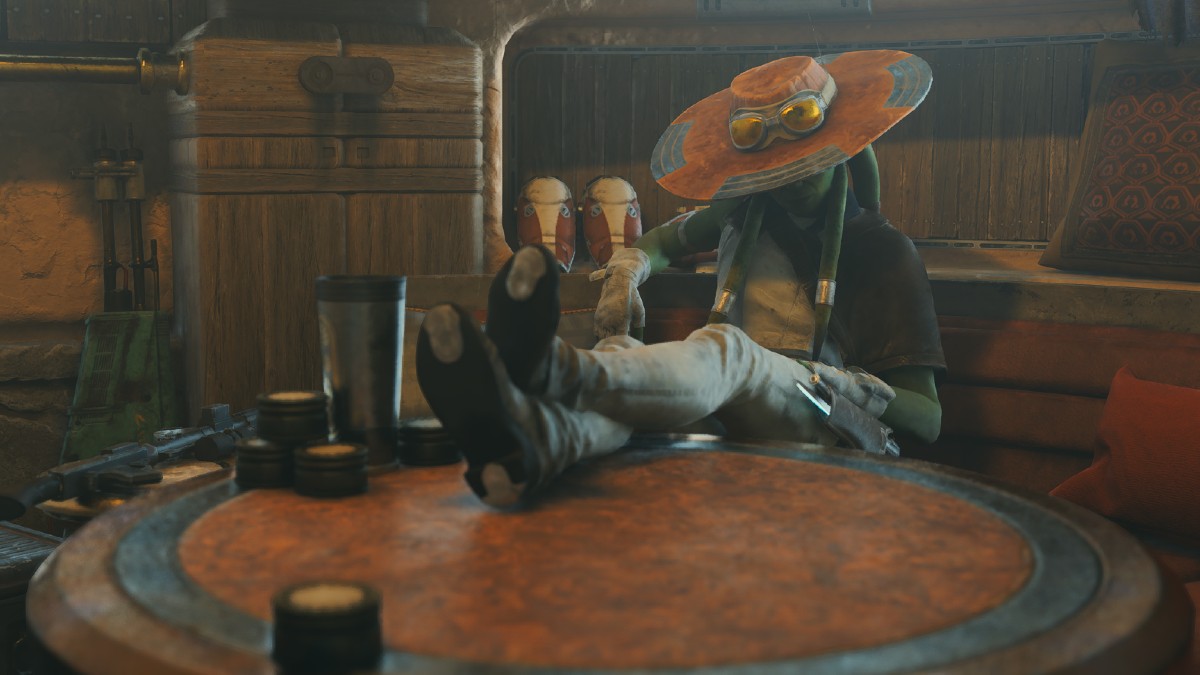
The builders threw in a twist for this Bounty Puck through which you should beat Caij on the Holotactics mini-game. That is situated on Koboh at Greez’s cantina named Pyloon’s Saloon. Caij is a medium issue adversary, however will trigger some frustration to beat. Use our information on how one can defeat Caij at Holotactics and also you’ll save your self some effort and time.
Defeat Kili Oso
The possibility to problem Kili Oso turns into out there when you’ve cleared a lot of the earlier bounty hunters on this listing. You’ll want to talk to Caij at Pyloon’s Saloon to provoke the state of affairs. You may then discover Kili Oso at Sepulcher Go on Jedha. That is alongside the path to the traditional temple ruins for the Hidden Path most important story mission, proper previous the massive bridge. You’ll discover Kili Oso in a round chamber that additionally has inexperienced ray shields off to the aspect.
The combat with Kili Oso is tougher as a result of she employs a variety of the talents the opposite bounty hunters used. The flashbangs are notably problematic, and there are different bounty hunters supporting Oso. When you get the well being bar down, Oso will flea by way of zipline to a different room the place you’ll end them off. This truly makes the combat simpler because it provides you a second to heal earlier than pursuit.
Defeat Jo the Cannibal
That is the final of the Haxion Brood bounty hunters you might want to beat. You’ll want to talk to Caij once more, who will reveal that the Bedlam Raiders partnered on the bounty and await you within the Lucrehulk ship on Koboh. You’ll discover Jo the Cannibal on the Yurt Barracks, which is deep contained in the ship on the level the place you combat the Bedlam Raider Smasher with the electro-hammer. That is the world previous the Bedlam Raider huts the place the CIS troop transports deploy droids in the primary story.
You’ll must defeat a Bedlam Raider Smasher and a Commando droid for Jo the Cannibal to drop into the world. Jo the Cannibal is definitely one other brawler droid, nevertheless it’s extra aggressive and has extra well being than others. Between these a number of tough opponents, it will likely be a difficult combat on larger difficulties. These enemies use high-damage assaults, so that you’ll need loads of additional well being stims and to be on high of your recreation while you go in.
Defeat Caij Vanda
Return to Pyloon’s Saloon and also you’ll get a immediate for a brand new rumor associated to Caij again at the place you fought the primary bounty hunter within the Devastated Settlement on Koboh. You’ll discover Caij on the location, she’ll betray Cal and start a combat. When you defeat Caij, you’ll get a shock Easter egg occasion, the Bounty Puck achievement for all 18 of them, and Caij Vanda’s blaster elements.
That’s it for our information on how one can discover all 18 Bounty Puck places in Star Wars Jedi: Survivor. We even have some guides for different aspect quests like how one can unlock the Jukebox for Pyloon’s Saloon, how one can clear up the Footfall Hills Deserted Shack puzzle, and how one can get the Jedi outfit to call a number of.
Star Wars Jedi: Survivor is on the market on Steam, the Epic Video games Retailer, and the EA app for PC.
[ad_2]
Source link
